If you have noticed that your car's headlights are not as bright as they used to be, or that they have a yellowish or cloudy appearance, you are not alone. Many drivers face this problem as their headlights age and get exposed to various environmental factors, such as UV rays, pollution, and chemicals. This can affect your visibility at night and make your car look older and less attractive.
Fortunately, there is a simple and affordable solution to this problem: headlight restoration kits. These kits are designed to remove the oxidation and dirt from your headlights and restore their clarity and shine.
You can buy them online or at your local auto store, and they usually cost less than £20. They come with everything you need to do the job yourself, such as sandpaper, polishing compound, sealant, and gloves. Some kits require a drill for sanding, while others can be done by hand.
Restore your car's headlights
Step 1: Prepare your headlights
Before you start the restoration process, you need to prepare your headlights and the area around them. First, wash your car and make sure your headlights are clean and dry. Then, mask off the surrounding paintwork with masking tape to protect it from scratches and stains. You may also want to cover your engine bay with a cloth or plastic sheet to prevent dust and debris from getting inside.
Step 2: Sand your headlights
The next step is to sand your headlights with the sandpaper provided in the kit. This will remove the top layer of oxidised plastic and reveal the clear plastic underneath. Start with the coarsest grit (usually 800 or 1000) and work your way up to the finest grit (usually 3000). Make sure to wet the sandpaper and the headlight with water before and during sanding.
Use circular motions and apply even pressure. You will see some yellowish slurry coming off as you sand. This is normal and means you are doing it right. Sand until your headlights are smooth and even.
Step 3: Polish your headlights
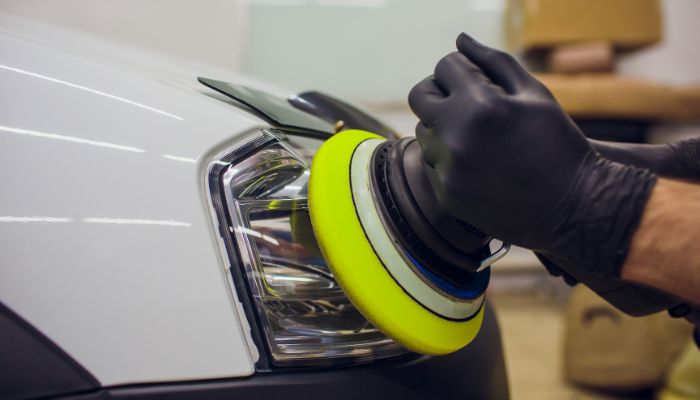
After sanding, your headlights will look dull and hazy. To restore their shine, you need to polish them with the polishing compound included in the kit. Apply a small amount of the compound on a microfiber cloth or a foam pad and rub it on the headlight in circular motions. You can also use a drill attachment for faster and easier polishing. Polish until your headlights are clear and glossy.
Step 4: Seal your headlights
The final step is to seal your headlights with the sealant provided in the kit. This will protect them from further oxidation and UV damage. Apply a thin layer of the sealant on a clean cloth or a foam pad and wipe it on the headlight in one direction. Let it dry for a few minutes and then buff it off with another clean cloth or pad.
Step 5: Enjoy your new headlights
You have successfully restored your headlights with a DIY kit! You can now enjoy improved visibility and safety at night, as well as a more attractive car appearance. To keep your headlights in good condition, make sure to wash them regularly and apply a UV protectant spray every few months.


