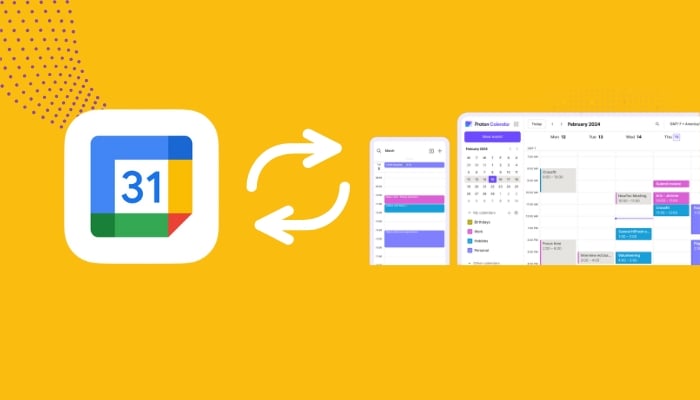
Importing a calendar from systemic sources is quite challenging, but Proton Calendar makes it easier to switch from Google services within a few steps on your mobile app.
Gadinsider has compiled a step-by-step guide for you to easily sync the Google Calendar to Proton Calendar, without posing a threat to your data protection.
Import your Google Calendar to Proton Calendar
The up-and-coming, privacy-forward provider has empowered its app over the past few years. It offers several options to change from reliance on the less-than-private Google Calendar to Proton's encrypted hub.
Read more: How to optimise storage space for photos app on iPhone
- Firstly launch the Google Calendar and Proton Calendar apps, and sign in to your account.
- Now click on the hamburger menu in the Proton Calendar apps in the top-left corner.
- Launch Settings.
- Click Import from Google > select New Import > select Continue.
- Select your Google account to sync the calendar and click Continue to let Google share data with the Proton calendar.
- Install any calendar that you are able to access while utilising the Google Calendar checkbox for the assurance of importing all the existing calendar data.
- Swipe down and click Continue.
- Click Import Calendar at the centre of the next screen to confirm.
- Launch Proton Calendar's Settings to delete the Google Calendar and click Delete. Click Delete again to confirm and wait for a few seconds.
- Now the app will ask you to enter the Proton password for security.
Users are allowed to sync existing data and import two calendars after every four hours.


