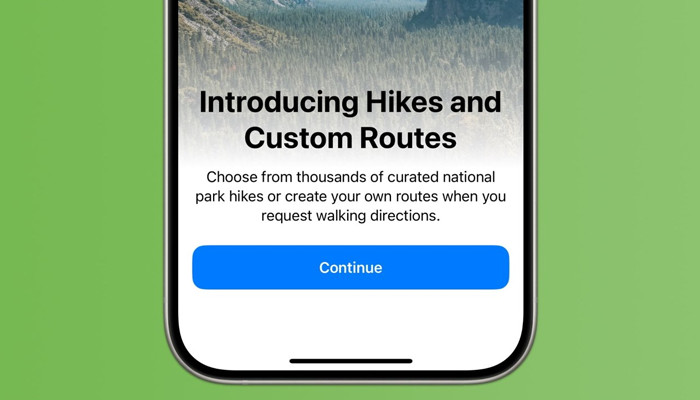
The public iOS 18 beta has been introduced with a few innovative features and amongst them, one of the most helpful features includes a user-friendly Maps experience, that allows users to customise hiking and walking routes, accordingly, making it idealistic for all outdoor enthusiasts.
Here’s a step-by-step guide that helps you to create your customised hiking and walking route utilising the latest Maps app in iOS 18.
- Firstly, open the Apple Maps on any Apple device.
- Then situate your preferred area after looking for a particular trail, location, and park.
- Afterwards, plan your journey accordingly by clicking the location and tapping on Hike.
- Now properly adjust your adventure by appropriately reviewing your distance and customising the journey and choose the options 'Reverse', 'Out & Back', or 'Close Loop' and name your route.
- Click on ‘Done,’ additionally, if you are unable to find your hiking trail or park, then users can easily customise your route.
It offers you an extensive range of flexibility, which allows you to customise your path at any place whether it’s a short hiking trail or long.
Read more: Here’s how to use WhatsApp without internet conection on Android, iOS
How do you customise your route?
Here’s how to customise your route:
- Firstly, launch the Apple Maps and click on the profile icon > Library.
- Once you are inside the Library, click ‘Routes,’ it includes the following options Places, Guides, and Pinned.
- Then select Create and open the map to adjust the initiating point. Then, click on additional locations to customise your route. Moreover, you can easily add unlimited stops.
- You will also receive an option to refine the basic route.
- Then, click on ‘Reverse’ to flip the direction, 'Out & Back' and 'Close Loop,' to connect the starting and ending points.
- Once you have plotted the journey, click on ‘Save’ and ‘Go’ to immediately start the action.


