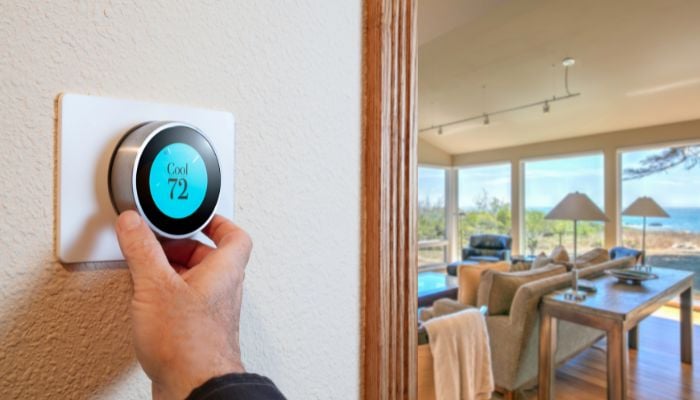
A digital thermostat is a smart device that can help you save energy and money by adjusting the temperature of your home according to your preferences and schedule. Unlike an old-fashioned analogue thermostat, a digital thermostat can be programmed to turn on and off the heating and cooling system at specific times and temperatures. Some digital thermostats can even be controlled remotely via your smartphone or voice assistant.
Installing a digital thermostat is not as hard as it may seem. You don’t need to hire a professional or have any special skills. All you need are some basic tools and a compatible digital thermostat.
Steps to install a digital thermostat yourself
Step 1: Turn off the power to your HVAC system
Before you start working on your thermostat, you need to make sure that the power to your heating and cooling system is turned off. This will prevent any electrical shocks or damage to your equipment.
To turn off the power, locate the circuit breaker panel in your home and flip the switch that corresponds to your Heating, Ventilation, and Air Conditioning (HVAC) system. You can also turn off the power at the main switch or fuse box.
To test if the power is off, try turning on your existing thermostat and see if it activates the furnace or air conditioner. If nothing happens, you have successfully turned off the power.
Step 2: Remove old thermostat and label wires
Next, you need to remove the old thermostat from the wall and disconnect the wires. To do this, you may need to unscrew the faceplate or pop it off with a flathead screwdriver. Then, you will see a bunch of wires connected to terminals on the back of the thermostat.
Before you disconnect the wires, you need to label them according to their terminals. This will help you connect them correctly to the new digital thermostat later. You can use masking tape or stickers to label each wire with its terminal letter, such as R, W, Y, G, C, etc.
Once you have labelled all the wires, you can disconnect them from the terminals by loosening the screws or pulling them out gently. Be careful not to let the wires fall back into the wall.
Step 3: Install new digital thermostat base
Now that you have removed the old thermostat and labelled the wires, you are ready to install the new digital thermostat base. This is the part that attaches to the wall and connects to the wires.
First, you need to make sure that the new digital thermostat base fits over the hole in the wall where the old one was. If not, you may need to drill new holes or use anchors to secure it. You can use a level to make sure that the base is aligned properly.
Next, you need to connect the wires to the terminals on the new digital thermostat base. To do this, follow the instructions that came with your digital thermostat model. You may need to strip some insulation from the wires or use wire nuts to join them. Make sure that each wire matches its corresponding terminal letter on both ends.
Once you have connected all the wires, you can mount the new digital thermostat base on the wall using screws or adhesive strips.
Step 4: Attach digital thermostat display and restore power
The final step is to attach the digital thermostat display to the base and restore power to your HVAC system. The display is the part that shows the temperature and settings on your digital thermostat.
To attach the display, simply snap it onto the base or slide it into place until it clicks. You may need to insert batteries into the display if it is battery-powered.
To restore power, go back to your circuit breaker panel and flip on the switch that corresponds to your HVAC system. You can also turn on the power at the main switch or fuse box.
Your new digital thermostat is now installed and ready to use. You can follow the instructions that came with your model to program it according to your preferences and schedule.


